
Learn how to create a simple dropdown menu (and submenu) on your Showit design with a step-by-step tutorial today!
Today I wanted to share with you a simple dropdown menu tutorial for Showit. If you’re not familiar with Showit, it is a drag and drop platform that requires absolutely no coding to customize.
You can learn all of the things here, I share why I went from WordPress + Elementor to Showit!
I know learning a new platform can be overwhelming BUT not with Showit! You’ll understand more once you’ve completed this easy tutorial.
How to Create a Simple Dropdown Menu on Showit Tutorial (Desktop)
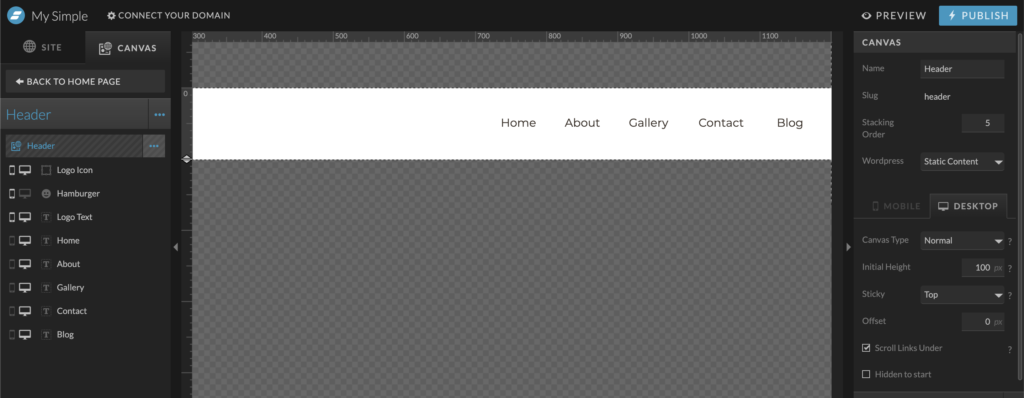
1 – You’ll need a simple navigation/header.
First, you’ll need to create simple navigation or header with text, i.e. HOME, ABOUT, SERVICES, BLOG, etc.
For the sake of this tutorial, I used the Simple template on Showit.
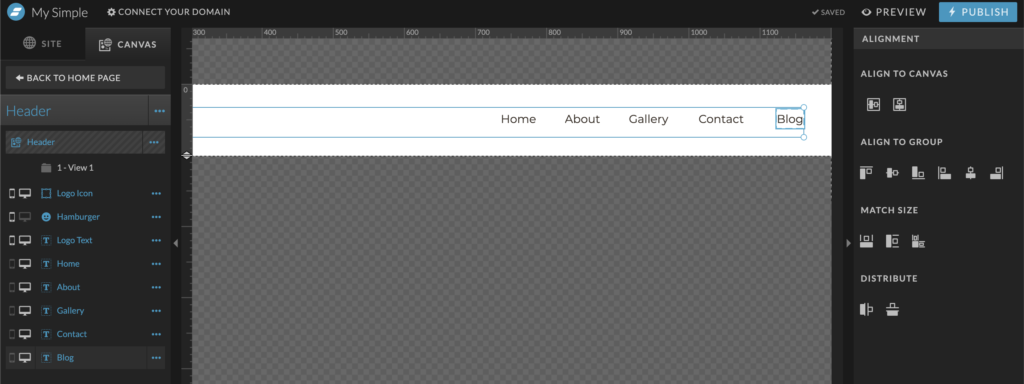
2 – Create canvas view one.
Once you’ve created a header, “add canvas view” and move all of the navigation text into it.
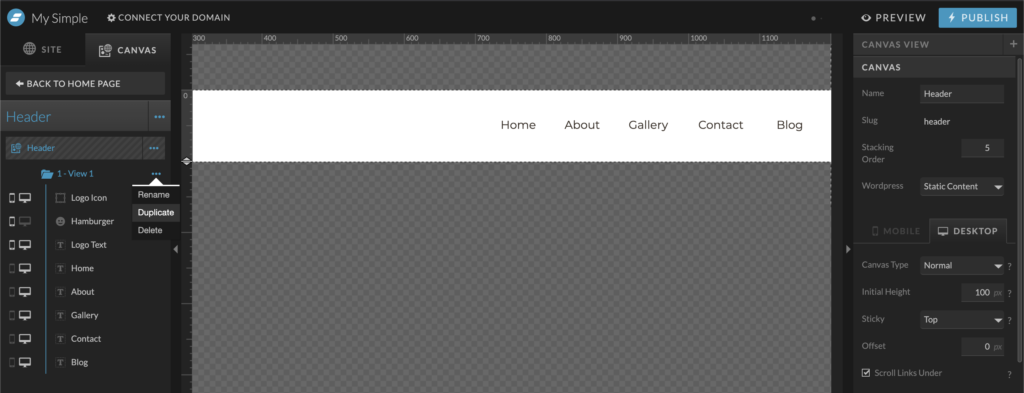
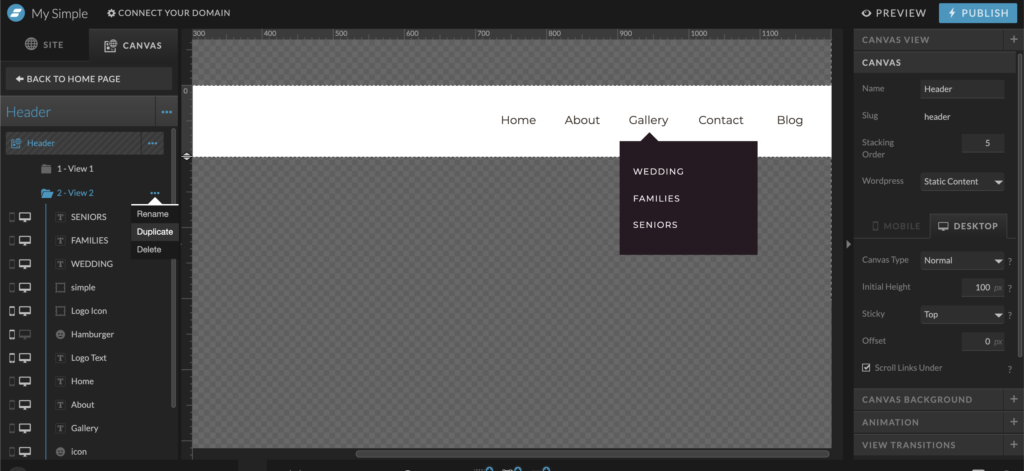
3 – Duplicate canvas one, rename second to canvas view two.
After you’ve duplicated the canvas view and renamed it, you’ll want to determine which text is going to be a dropdown menu (or more if you need it!).
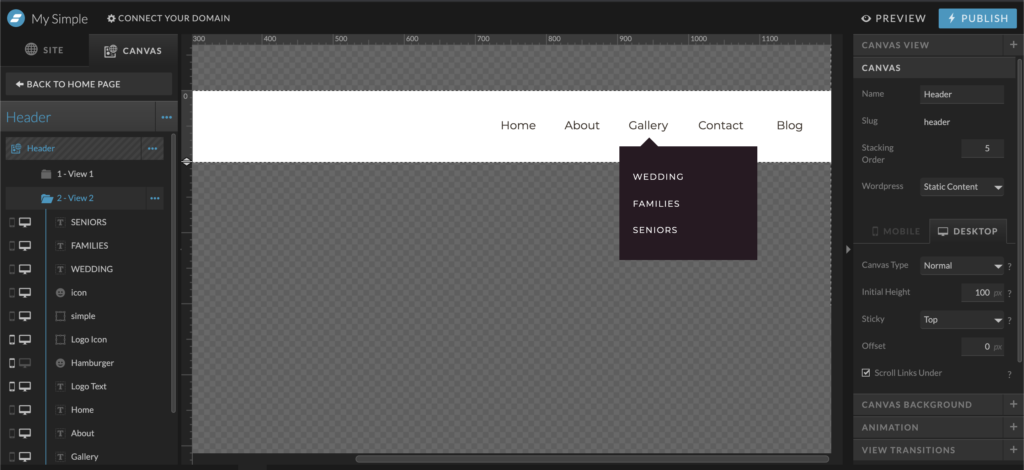
4 – Create dropdown and add text.
Now you’ll want to create a dropdown using the rectangle tool and icon (used an arrow).
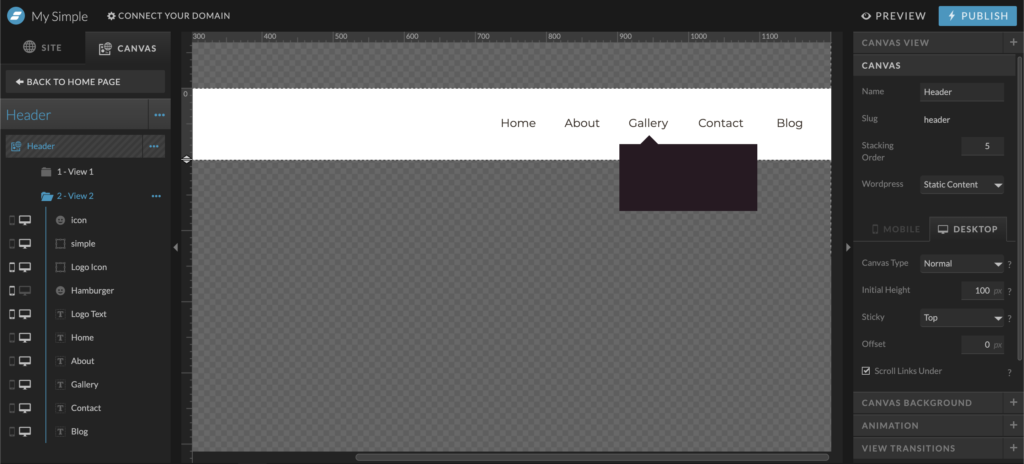
Once you’ve created the dropdown, add text to it (I made the rectangle a little bigger):
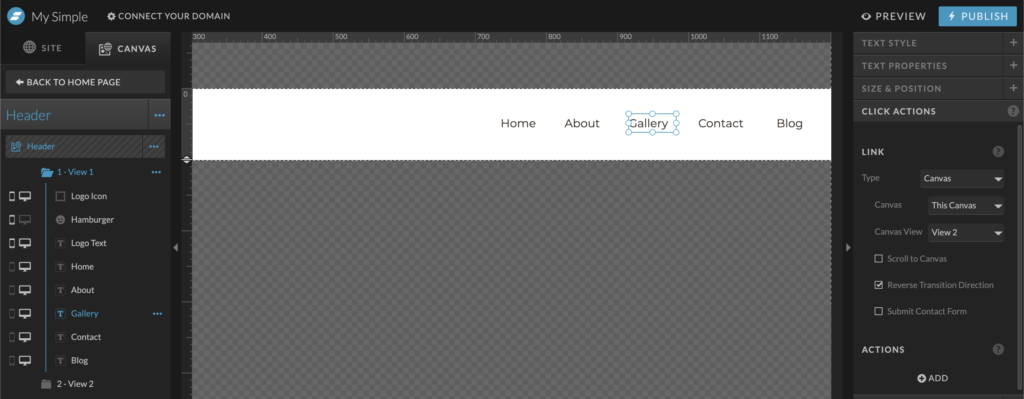
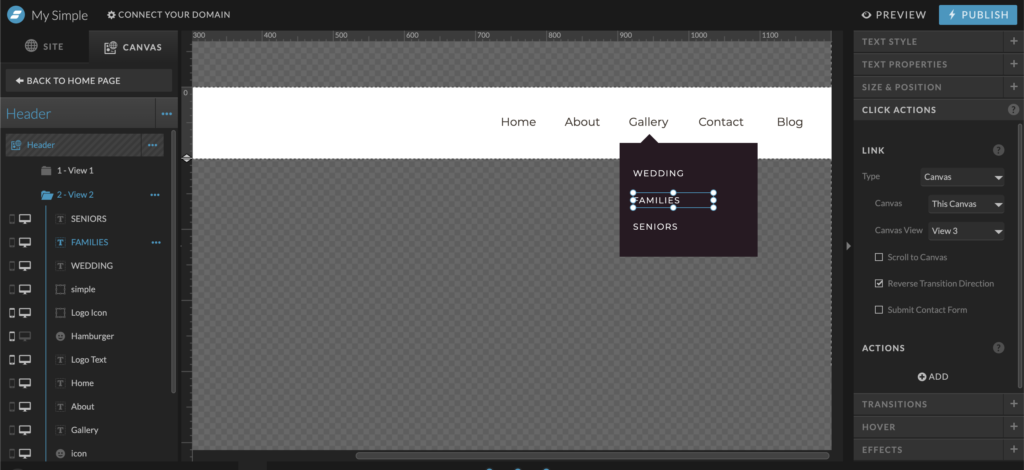
5 – Link dropdown text on canvas view one to canvas view two.
For this tutorial, I’ve made my “gallery” text the dropdown menu. Click on “gallery” and go to your right under “click actions.”
You will want to set the click action to “canvas,”:
For view one: set the click actions to “canvas,” “this canvas,” and “view two” (to simulate opening dropdown menu).
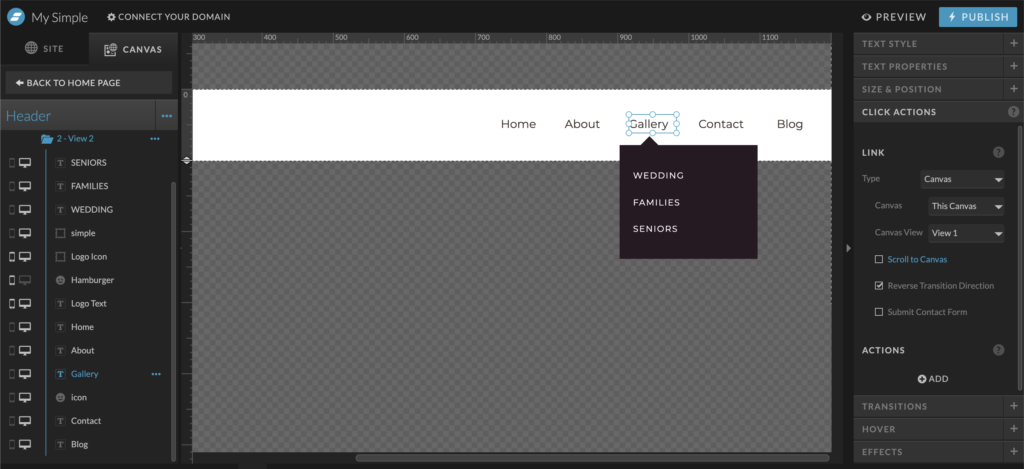
6 – Link dropdown text on canvas view two to view one.
For view two: set the click actions to “canvas,” “this canvas,” and “view one” (to simulate closing dropdown menu).
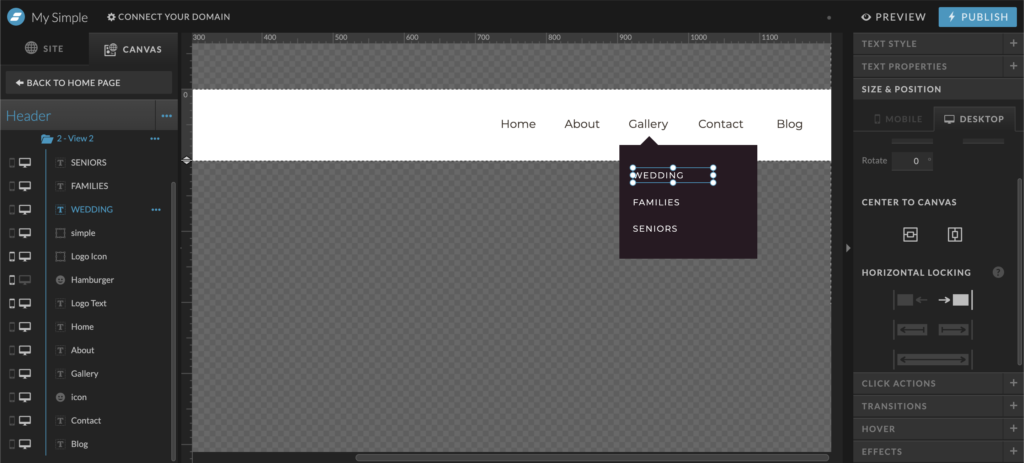
7 – Set horizontal locking (optional).
This is an optional step. My header has a horizontal lock, which means that the text, icons, and shape on the header itself are locked to the right of the website.
If you do not turn it on this design, the dropdown menu will not align with the correct text, “gallery.”
Instead, it’ll align to the “about” text, and I don’t want that.
Now you have a dropdown menu! Want to try adding a submenu within a dropdown menu? Keep reading.
How to Add a Submenu to your existing Dropdown Menu
Complete steps I through V, you will now have to create a third canvas view.
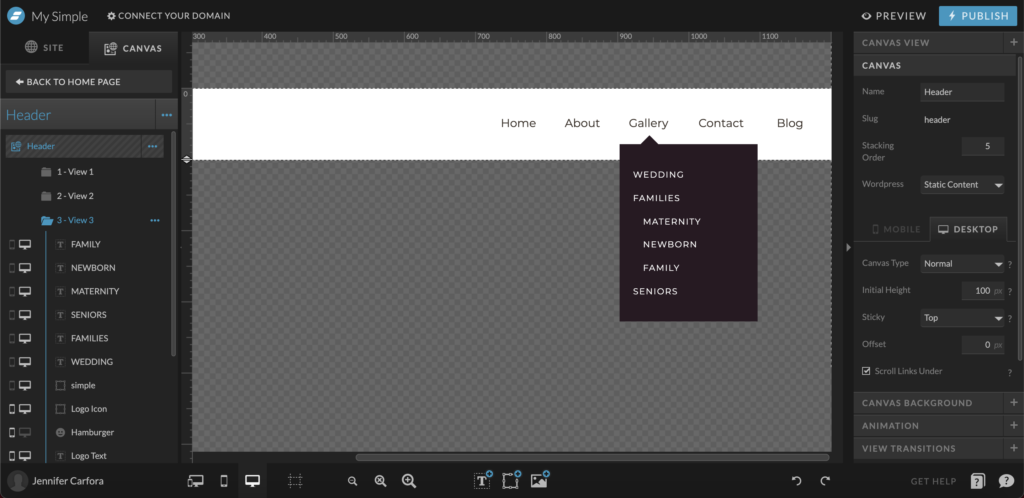
8 – Duplicate canvas view two and rename it to view three.
This one is going to open up a smaller submenu with more links.
9 – Make the dropdown box longer to accommodate the submenu.
I made the rectangle longer to accommodate the new links under the “families” category.
Add your text.
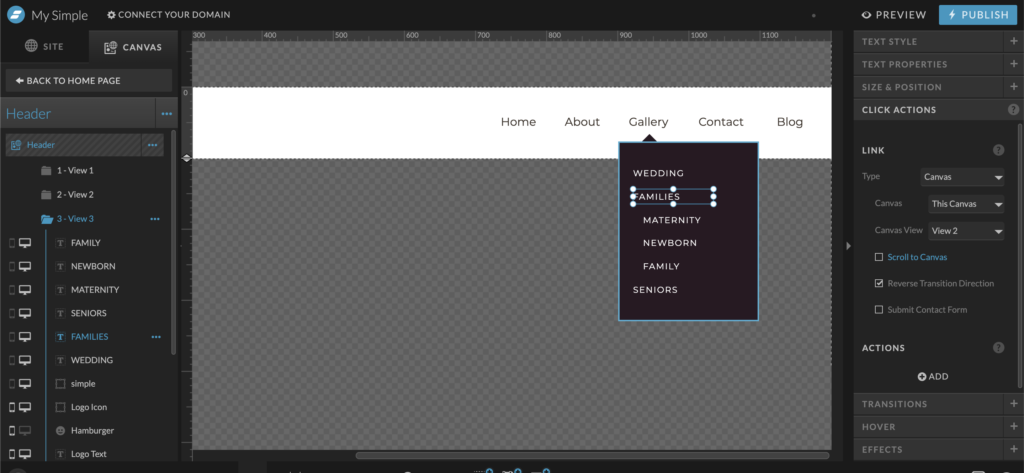
10 – Set “families” click actions for canvas view two.
Since “families” has the subcategories, we are going to make the click actions in view two open up to “view three.”
11 – Set “families click actions for canvas view three.
To close the submenu, make the click actions for “families” in view three go to “view two.”
BAM! You have a dropdown menu and a submenu, say whaaaaat? Easy peasy am I right?
Subscribe and stay tuned for more easy Showit tutorials.
Watch both desktop and mobile tutorial on my YouTube channel:
I share how to create both desktop and mobile dropdown menus on Showit.
Save this for reference later.


This was so helpful thank you so much for this!!!
You’re so welcome, Amber! 😊
Very helpful tutorial! I was able to quickly add this to a client’s website and it worked!
Hi Casey! I’m so glad that this tutorial was helpful! 😊